So, until they solve their problems, I decided to go with free Let's Encrypt SSL certificates.
I knew about the Let's Encrypt, I even read documentations at the time and yes, for me, due to the short renewal period (3 months) and not so easy to implement strategy (in contrast with StartCom which, indeed, is very easy to implement and customize), the Let's Encrypt was not a good alternative for my StartSSL SSL encryption certificate.
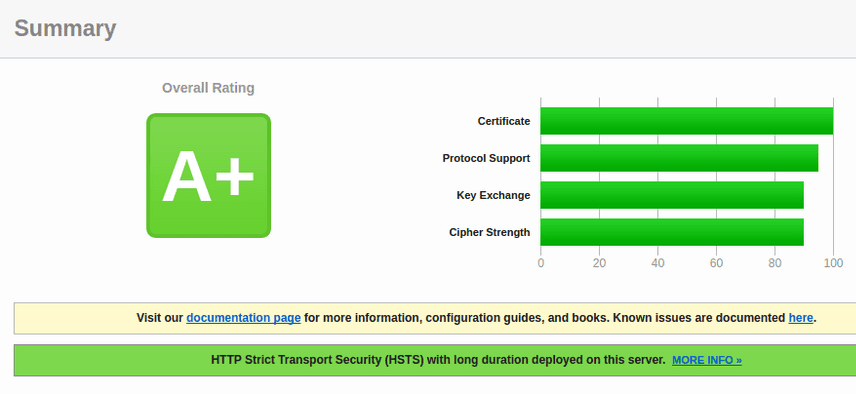
But now, it's time to go with. So let's begin. Just read carefully and within minutes you will have a nice A+ Qualys SSL LABS grade configuration for your domain.
|
| HTTPS A+ expected rating target |
timeline
If you are using the WebH-NL - a professional web hosting solution for self managed servers you already have NGINX, Apache and automatic management of Let's Encrypt SSL certificates.
Step 1, get the certbot-auto certificates manager:
Open your server console and download the certificate manager app from https://certbot.eff.org/.cd /usr/local/bin/ && sudo wget https://dl.eff.org/certbot-auto && sudo chmod a+x certbot-auto
Step 2, run certbot-auto certificates manager:
sudo certbot-auto certonly -a webroot --webroot-path=/var/www/example.com/public_html -d example.com -d www.example.com
Depending on if this is your first time attempt to get free Let's Encrypt certificates, the procedure above may ask you some questions, like an email address used for communications, if you agree that your ip to be logged for this request (you must agree), terms and conditions (you also must agree) and even newsletter (you choose).
Next, the certbot-auto will install/update some dependencies and then creates an temporary (used for domain validation) .well-known/acme-challenge file at the root of the example.com*) declared host.
*)example.com must already have a DNS entry pointing to your server IP
If all goes well, you should see a congratulation message and other important infos.
Congratulations! Your certificate and chain have been saved at
   /etc/letsencrypt/live/example.com/fullchain.pem. Your cert will
   expire on 2017-06-16. To obtain a new or tweaked version of this
   certificate in the future, simply run certbot-auto again.
sudo ls /etc/letsencrypt/live/example.com
cert.pem  chain.pem  fullchain.pem  privkey.pem  README
Step 3, Diffie-Hellman Group:
Generate a medium strong Diffie-Hellman key exchange. This will take some time, depending on your server processing power, so issue the below command then go and grab a coffee. If you run this on a under-powered VPS (1vCPU), I will recommend you to run the command on another machine with more horse power and then just copy the resulted file to your server.
sudo openssl dhparam -out /etc/letsencrypt/dhparam.pem 2048
Step 4, NGINX server block:
Now that we have all the files in place, just add these lines to the NGINX example.com server block, save the file and reload/restart NGINX.
server {
  listen 80;
  listen 443 ssl http2;
  server_name example.com www.example.com;
  if ($host = "example.com") {
       return 301 https://www.example.com$request_uri;
      }
  if ($scheme = http) {
   return 301 https://www.example.com$request_uri;
  }


  ssl_certificate /etc/letsencrypt/live/example.com/fullchain.pem;
  ssl_certificate_key /etc/letsencrypt/live/example.com/privkey.pem;

  ssl_session_cache shared:SSL:20m;
  ssl_session_timeout 180m;
  ssl_protocols TLSv1 TLSv1.1 TLSv1.2;
  ssl_prefer_server_ciphers on;
  ssl_ciphers ECDH+AESGCM:ECDH+AES256:ECDH+AES128:DH+3DES:!ADH:!AECDH:!MD5;

  ssl_dhparam /etc/letsencrypt/dhparam.pem;

  ssl_stapling on;
  ssl_stapling_verify on;

  ssl_trusted_certificate /etc/letsencrypt/live/example.com/chain.pem;

  ....
}
a comprehensive NGINX server block example:
https://github.com/b247/WebH-NL/blob/master/files/vhosts/fqdn-nginx-ssl.conf
https://github.com/b247/WebH-NL/blob/master/files/vhosts/fqdn-nginx-ssl.conf
Check that your site works as expected and then make a SSL test here: https://www.ssllabs.com/ssltest/
Step 5, automatic certificate renewal:
As Let's Encrypt certificates have a short renewal period (3 months), it's hard to manually monitor and update those certificates. Here comes in handy the renew switch of the certbot-auto and the crontab.
Launch the crontab editor (sudo crontab -e), add following lines, save it and you are done. (afraid of crontab rules?, just visit crontab.guru and and you will be enlightened)
# Let's Encrypt automatic certificates renewal
59 23 * * 0          /usr/local/bin/certbot-auto renew --renew-hook "systemctl reload nginx"